Drywall & texturing · St. Augustine
Drywall & texturing
Drywall repair, ceiling repair and texture work in St. Augustine and St. Johns County. Plan patching, surface preparation and repainting together for a consistent finish.

From repair to finish
See the surface. Plan the finish.
01 / Repair & preparation
Walls & ceilings
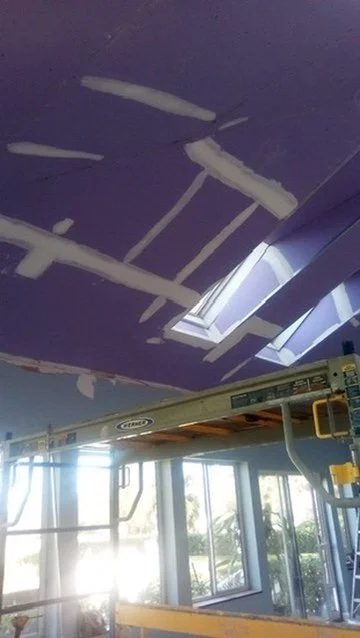
Patching, replacement where needed, joint finishing and preparation for paint. Close photos and a wider view help us understand the area.
02 / Texture & blending
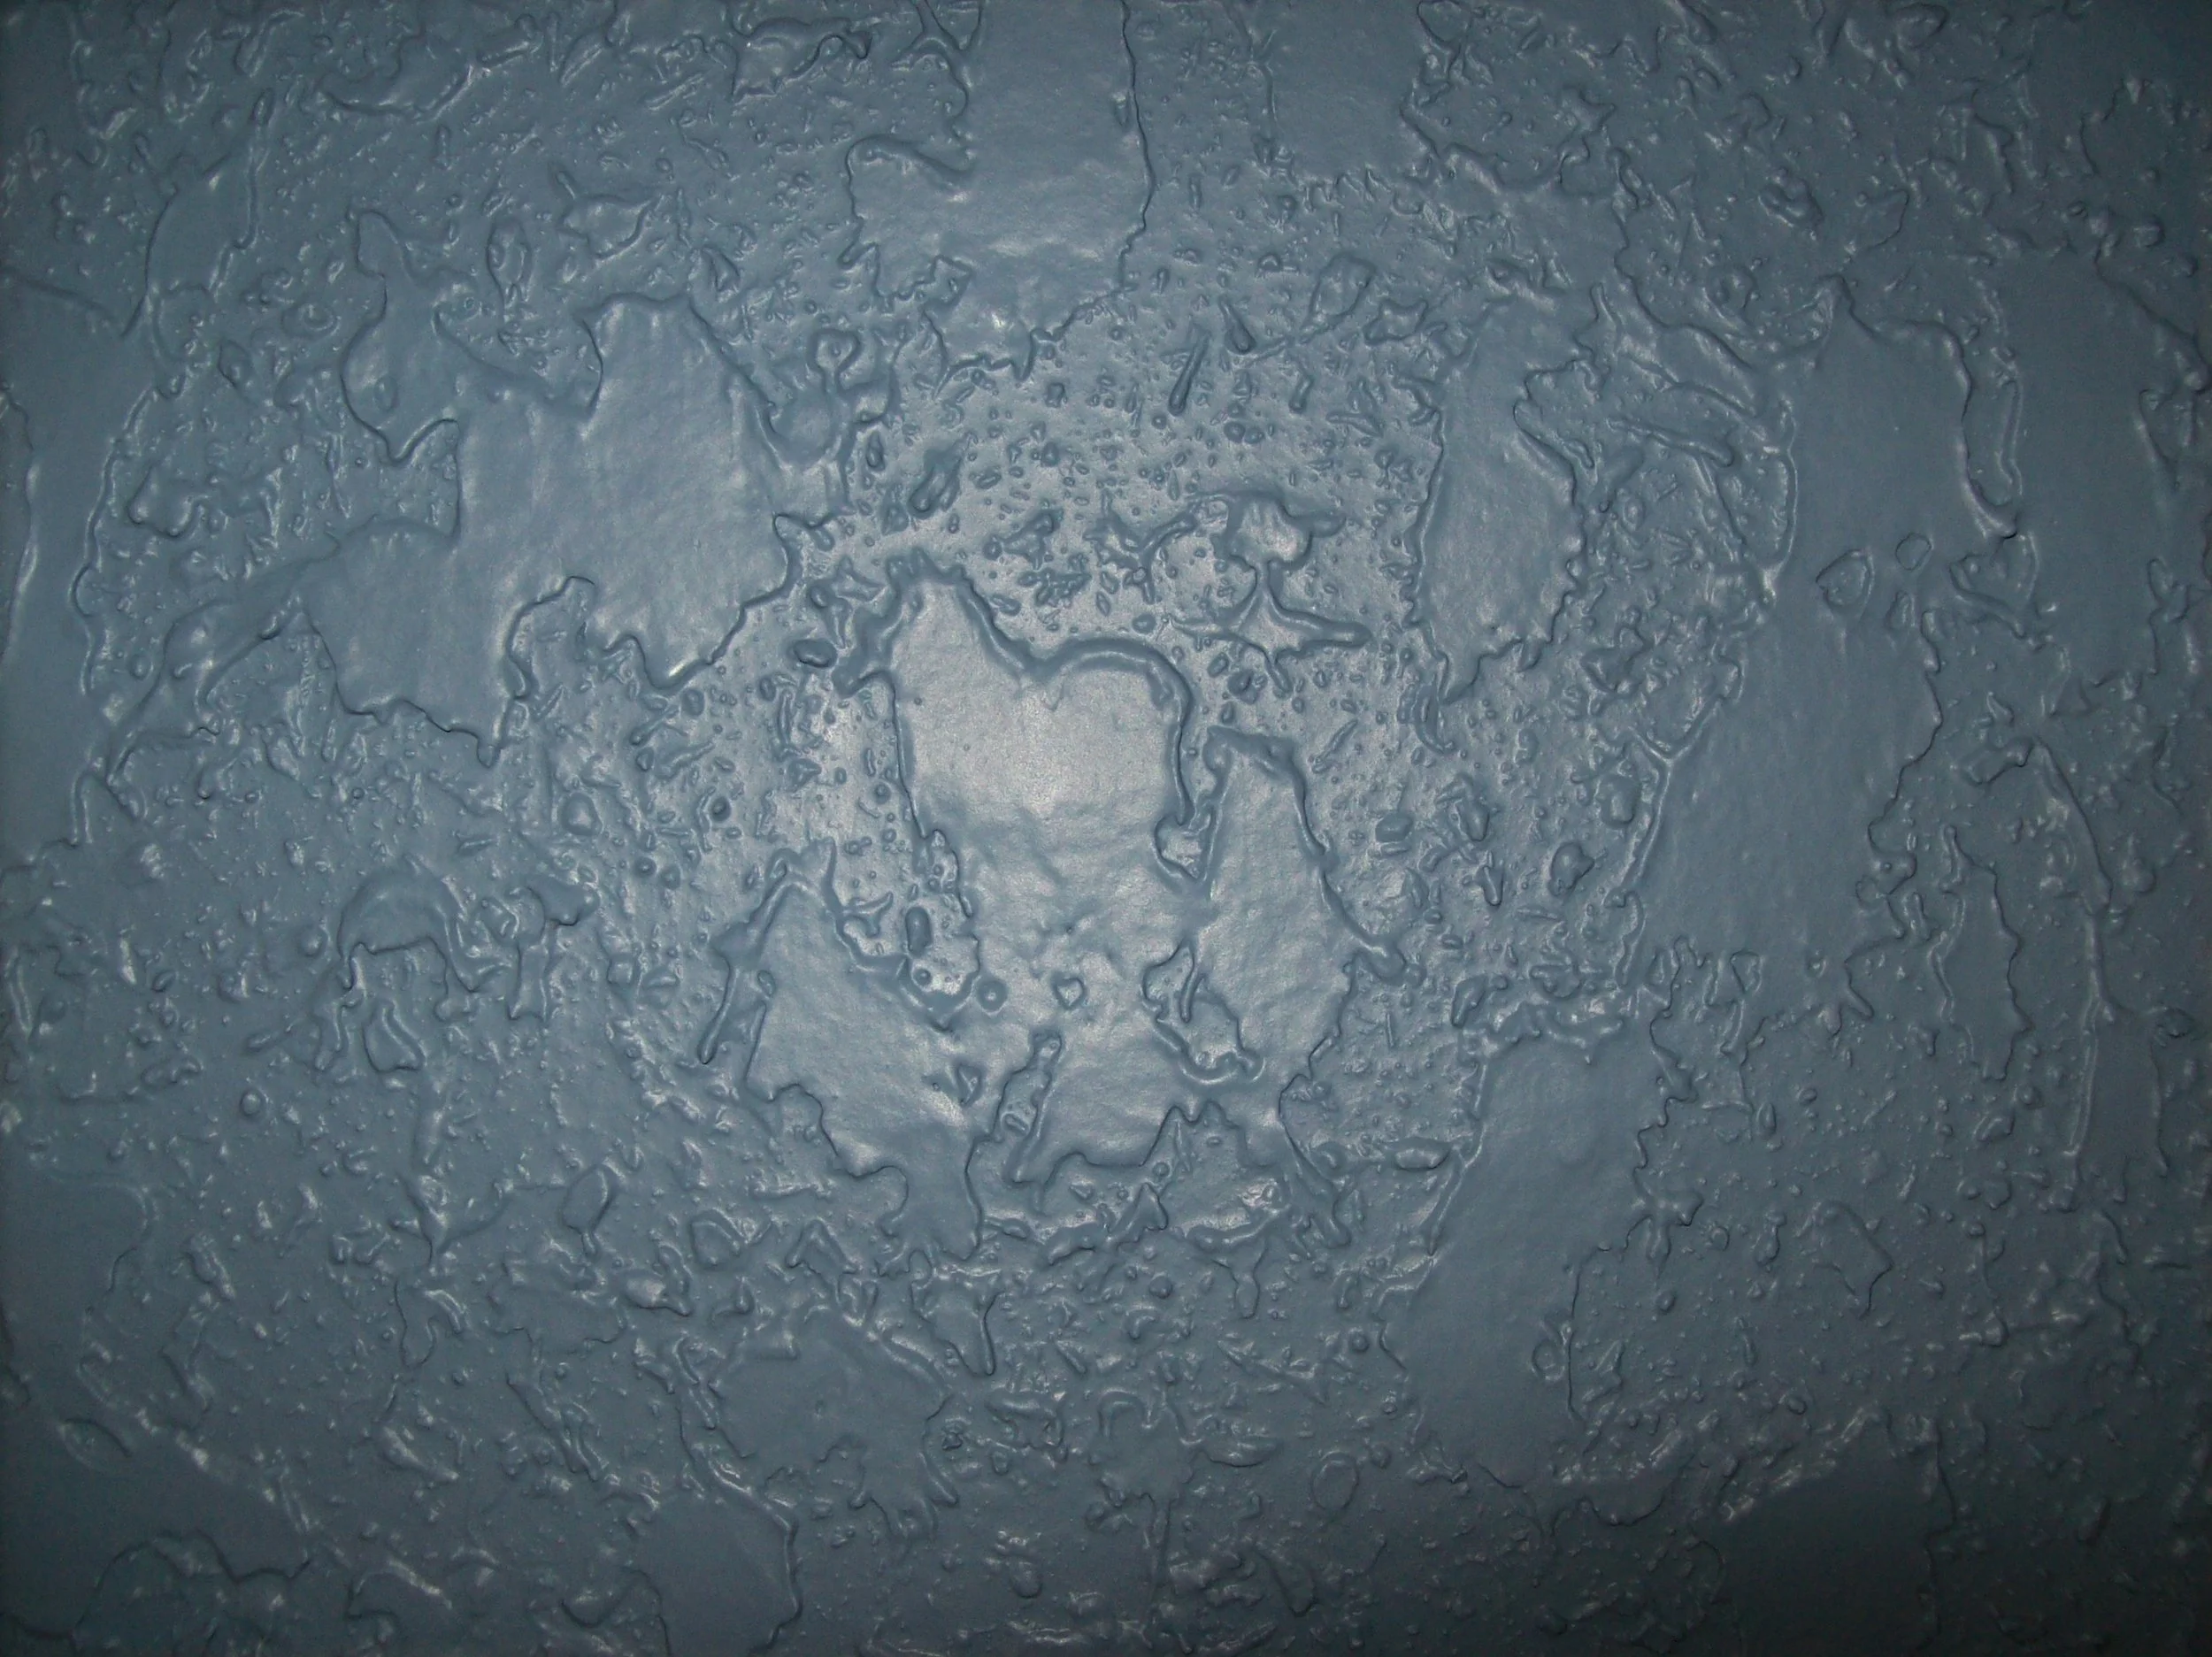
Texture, up close
Knockdown has a flattened, irregular pattern. Texture depth, paint sheen and lighting all affect the appearance. We review your existing finish and discuss a practical plan for blending the repair.
Texture example: Dailywood, public domain. Your existing texture and selected finish guide the project.

Plan with confidence
Understand the repair and the finish.
A patch is only one part of the result. Explore the condition, texture and paint decisions that affect how the repaired surface reads.
Give the repair some context.
A close-up shows the damage. A wider view shows its location, the surrounding texture and the way light falls across it. Both help make the initial conversation useful.
- History
- When did you first notice the damage?
- Location
- Is it on a wall, ceiling, corner or around an opening?
- Cause
- Mention known moisture or recurring movement so the cause can be discussed.
Set expectations for the whole surface.
Texture is affected by its pattern, application, age and previous paint. Side lighting can make small differences more visible. Discuss the approach and practical limitations before the work starts.
- Pattern
- Show close-ups of the existing texture.
- Light
- Include windows, skylights and fixtures near the repair.
- Extent
- Ask how far the finish work needs to extend beyond the patch.
Connect the repair to the final coat.
The repair, primer and final paint should be planned together when you want a completed finish. Existing color and sheen can affect how a touched-up area blends.
- Scope
- Clarify whether priming and painting are included.
- Coverage
- Discuss a local repair versus a larger wall or ceiling area.
- Coordination
- Consider related trim or room painting at the same time.
Your estimate checklist
Check off what you have ready. This checklist stays on this page and is not sent to KSG.
Finish details
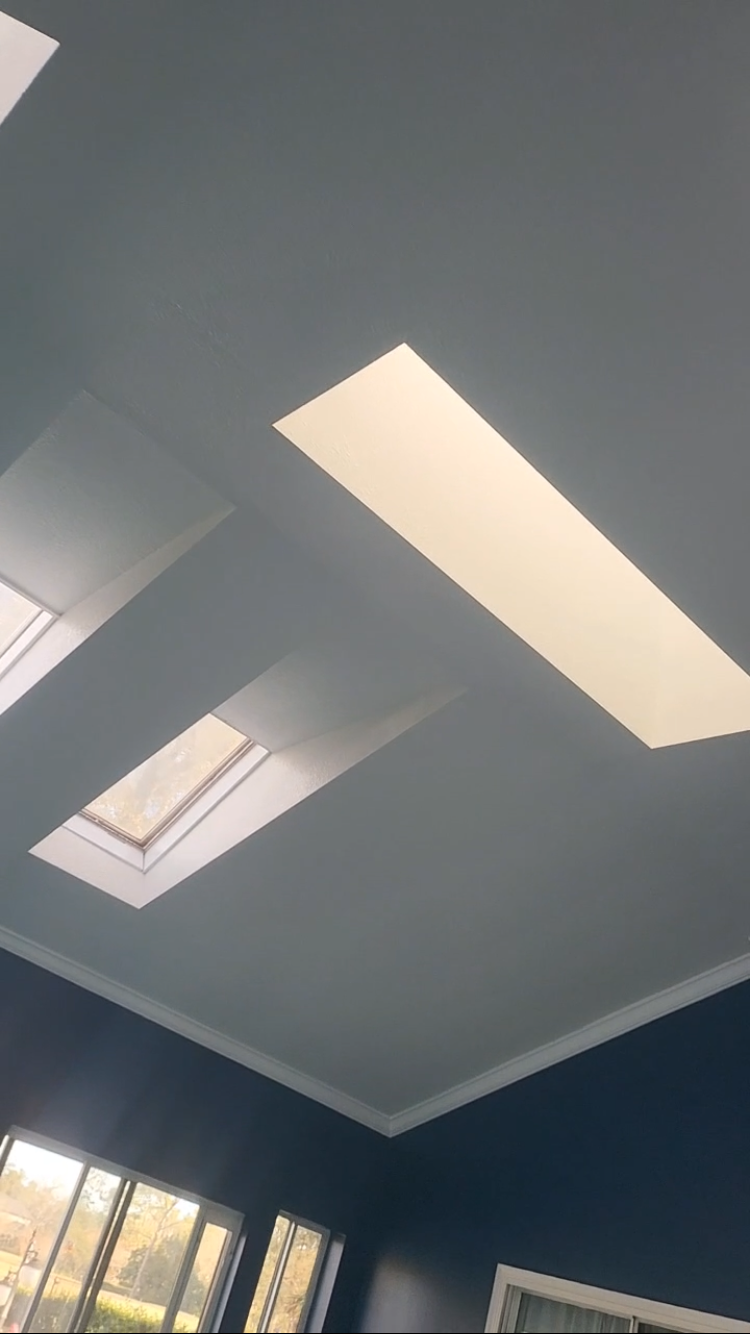
Think beyond
the damaged area.
Skylights, corners and changing ceiling planes make the transitions between surfaces especially visible.
- Resolve the causeIf moisture is involved, the source needs to be addressed before restoration.
- Plan the finish areaA consistent appearance may require work beyond the immediate patch.
- Coordinate paintingInclude priming and painting in the scope when a completed finish is needed.
Selected projects
See the work, up close.
Before you get started
A few useful answers.
What photos should I send?
Include a close view of the damage and a wider view of the wall or ceiling. Tell us when it appeared and whether moisture was involved.
Can a texture match be invisible?
Matching depends on the texture, existing finish, age and lighting. We discuss practical limitations and the finish approach before work starts.
Why might the finish area be larger than the damage?
Texture blending, primer, sheen and lighting can make work beyond the immediate patch useful. The proposed finish area should be discussed before work starts.
Can I combine ceiling repairs with room painting?
Yes. Include both in your request so the repair and painting can be reviewed as one connected scope.
Should a moisture issue be addressed first?
Yes. The source should be identified and addressed before cosmetic restoration. Tell KSG what is known about the issue when you request a review.
Keep exploring
Often part of the same project.
See how connected work can fit into one conversation.
Your next project
Let’s talk about your home.
Serving Palm Coast, St. Augustine, World Golf Village, Palencia, St. Johns County and Jacksonville. Share your project details and location for a free estimate.